 Pin it
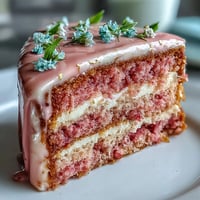
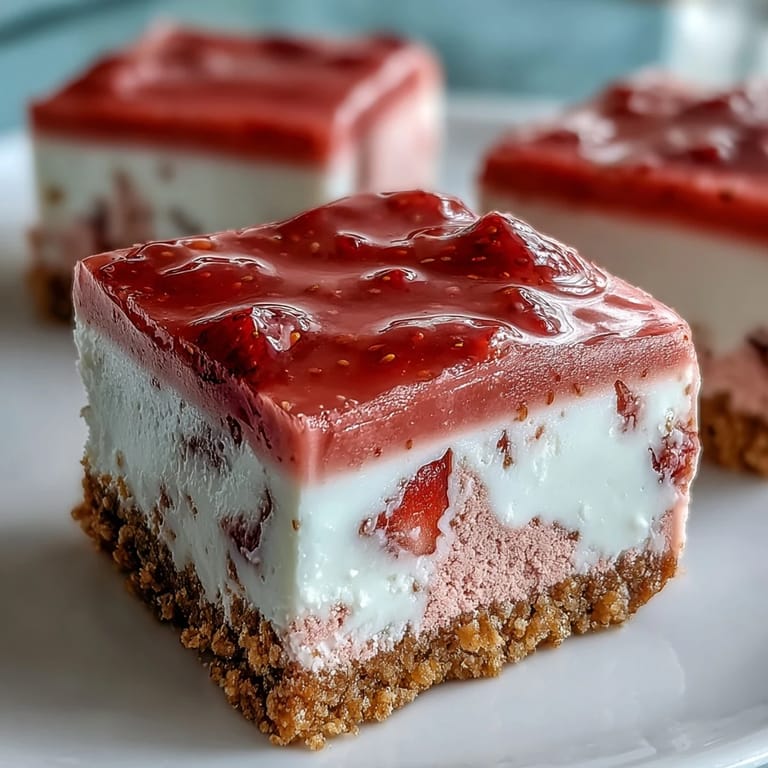
 My neighbor showed up one afternoon with a container of these squares, and I couldn't stop eating them straight from the fridge. The pink color alone made me curious, but that first bite—crispy graham base giving way to creamy, tangy white chocolate fudge—was the real surprise. She laughed when I asked for the recipe, saying it was the easiest dessert she'd ever made, no oven required. That conversation led me to the freezer aisle to hunt down freeze-dried strawberries, and now I make a batch whenever I need something that looks fancy but feels completely effortless.
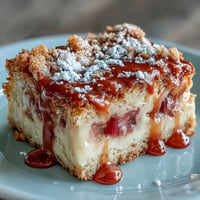
I made these for a potluck last spring, and someone asked if I'd bought them from a bakery. That moment stuck with me—not because of the compliment, but because I realized how impressive simple things can be when you take a little care with them. I brought them out still cold from my fridge in a neat stack, and they disappeared before the main course was even served.
Ingredients
- Digestive biscuits or graham crackers (200 g, finely crushed): The foundation should be packed tightly and evenly so the fudge layer sits stable above it—think of it as edible architecture.
- Unsalted butter (100 g, melted): Melted butter binds the crumbs together without leaving dry patches, and unsalted lets the strawberry flavor shine through without competing salt.
- White chocolate chips or chopped white chocolate (200 g): Quality matters here since white chocolate has fewer ingredients to hide behind—look for real cocoa butter in the ingredient list.
- Sweetened condensed milk (395 g, one 14 oz can): This is the secret to the fudgy texture without any baking, providing sweetness and creaminess in one ingredient.
- Freeze-dried strawberries, ground to powder (50 g) or fresh strawberries, puréed and strained (100 g): Freeze-dried strawberries give intense flavor and keep the fudge firm, while fresh purée creates a softer texture and brighter taste—choose based on your mood.
- Pure vanilla extract (1 tsp): A small amount deepens the white chocolate's flavor without making it taste like vanilla cake.
- Salt (pinch): Just enough to wake up your taste buds and balance the sweetness.
- Pink or red gel food coloring (1–2 drops, optional): Gel coloring gives vibrant pink without adding moisture like liquid food coloring would.
Tired of Takeout? 🥡
Get 10 meals you can make faster than delivery arrives. Seriously.
One email. No spam. Unsubscribe anytime.
Instructions
- Line and prep your pan:
- Cut a piece of parchment paper with a little extra hanging over two sides so you can lift the whole thing out later—it's a game changer. Press it smoothly into the corners of your 8-inch square baking pan.
- Make the crust:
- Crush your biscuits until they're the texture of coarse sand, then toss them with melted butter until every crumb is coated and glistening. When you squeeze a handful, it should hold together like wet sand at the beach.
- Pack and chill the base:
- Spread the mixture into your prepared pan and press down firmly with the bottom of a flat glass or measuring cup, getting into all the corners and creating an even, compact layer. Slide it into the fridge for 10 minutes while you tackle the next step.
- Create the double boiler:
- Fill a saucepan with water and bring it to a gentle simmer, then set your heatproof bowl on top so it doesn't touch the water. The steam will gradually melt your chocolate without scorching it.
- Melt the white chocolate:
- Add your white chocolate chips and condensed milk to the bowl, stirring constantly with a spoon until everything is completely melted and smooth—this takes longer than you'd think, so don't rush it. You'll notice the mixture gradually transforms from chunky to glossy and pourable.
- Flavor the fudge:
- Remove the bowl from heat and quickly stir in your strawberry powder (or strained purée), vanilla, salt, and food coloring if you're using it. Mix until the color is uniform and everything is fully incorporated—a few extra stirs ensure no streaks of white chocolate hiding in the corners.
- Layer and smooth:
- Pour the warm strawberry fudge mixture over your chilled crust and use a spatula to spread it evenly, making sure it reaches into all the corners and sits level. The contrast between the cold crust and warm fudge is actually helpful here because the fudge will stay workable just long enough.
- Chill until set:
- Cover the pan loosely with plastic wrap and slide it into the refrigerator for at least 2 to 3 hours, or until the fudge layer is completely firm when you press it gently with your finger. You can make these the night before and they'll keep their shape perfectly.
- Cut and serve:
- Using the parchment overhang, lift the entire fudge slab onto a cutting board and use a sharp knife to cut it into 16 equal squares, wiping the blade clean between cuts so you get clean edges. The parchment paper makes this step surprisingly easy and keeps your hands out of the mess.
 Pin it
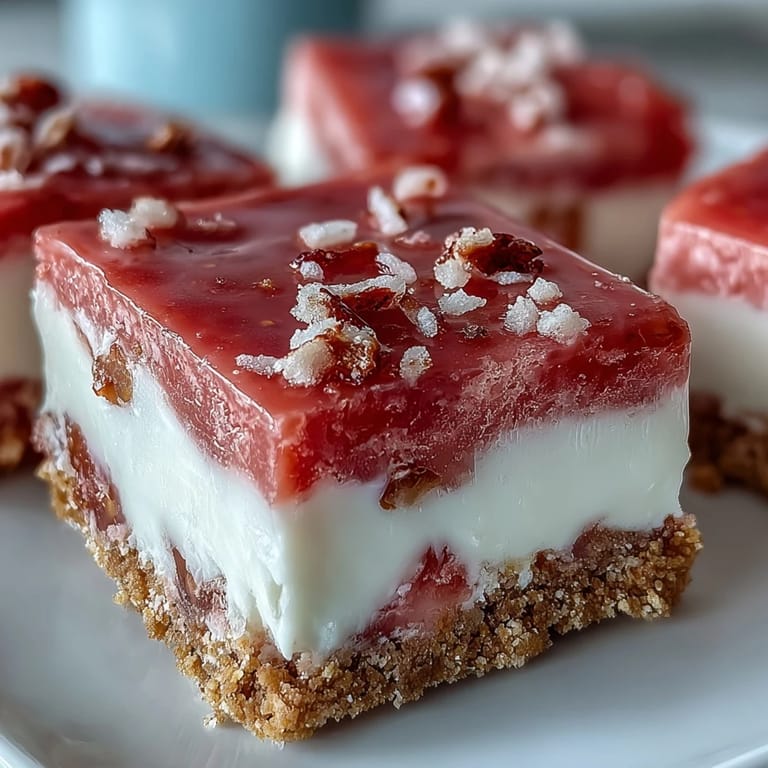
 There's something wonderful about a dessert that tastes intentional and elegant but doesn't ask you to spend hours in the kitchen. These squares feel like a small gift you give to yourself or someone else, wrapped in that pretty pink exterior and the promise of something creamy waiting inside.
Strawberry Powder vs. Fresh Purée
The choice between freeze-dried strawberry powder and fresh strawberry purée will shape how your squares taste and feel. Freeze-dried strawberries pack an intense, slightly tart punch and keep the fudge layer firm enough to slice cleanly, while fresh purée brings a brighter, juicier strawberry flavor but softens the texture a bit. I lean toward the powder for a cleaner presentation, but when strawberries are at their peak in summer, fresh purée reminds me why I love the fruit in the first place. You'll need to strain fresh purée through a fine mesh to remove seeds, which takes a few extra minutes but ensures a smooth texture.
The Double Boiler Moment
The first time I made these, I tried melting the white chocolate directly in a pot over low heat and ended up with a grainy, broken mess that I had to throw away. A friend rescued me by explaining that white chocolate is temperamental—it needs gentle, indirect heat or it seizes up and splits. The double boiler method feels old-fashioned, but it's genuinely the easiest way to keep everything smooth and creamy without fussing. Once you get the water to a gentle simmer and feel the steam rising around your bowl, you can relax and stir knowing nothing terrible will happen.
Storage and Serving Tips
These squares live happily in the refrigerator for up to five days in an airtight container, so you can make them well ahead of when you need them. If you pull them out 10 minutes before serving, they'll soften slightly and feel almost fudgy on your tongue, which some people prefer to the firmer cold version. A few final reminders to keep in your back pocket:
- Fresh strawberry slices or extra freeze-dried pieces make a beautiful garnish and add a pop of texture right before serving.
- For a dairy-free version, swap the butter and white chocolate for their dairy-free counterparts and use coconut condensed milk—the result is slightly less creamy but still delicious.
- You can adjust the strawberry intensity by using more or less freeze-dried powder depending on how bold you want the flavor.
 Pin it
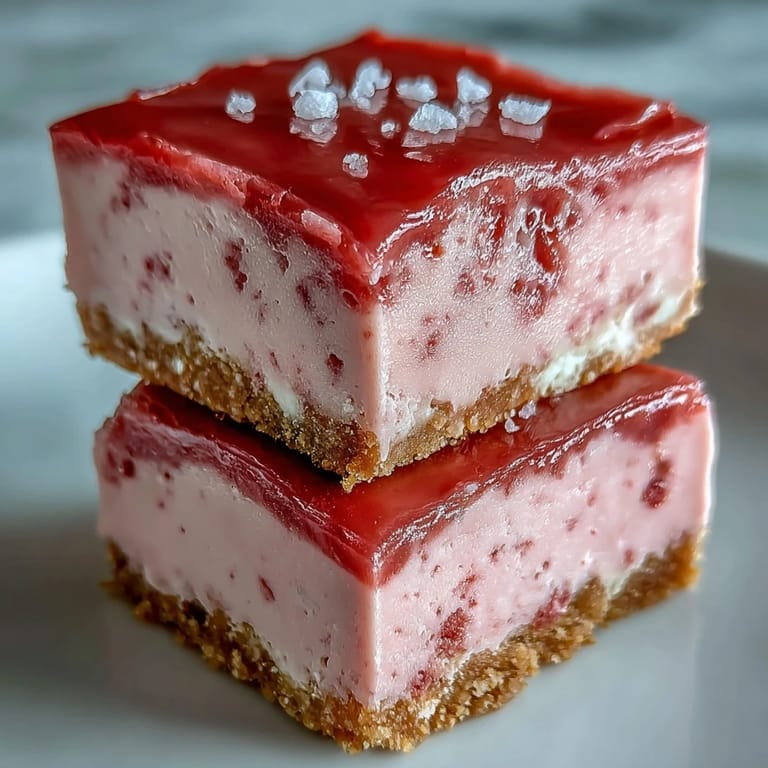
 These strawberry fudge squares remind me that the best desserts aren't always the most complicated—they're the ones you actually make and share. Keep them in your back pocket for when you need something beautiful and delicious without the stress.
Recipe FAQs
- → Can I use fresh strawberries instead of freeze-dried?
Yes, you can substitute 100g of fresh strawberries puréed and strained for the freeze-dried powder. Keep in mind that fresh strawberries add moisture which may slightly affect the setting time and final texture of the fudge layer.
- → How long do these need to chill before serving?
The fudge needs to refrigerate for at least 2-3 hours until firm to the touch. For best results, chill overnight to ensure the layer sets completely and achieves the perfect fudgy consistency when sliced.
- → Can I make these dairy-free?
Absolutely. Substitute dairy-free white chocolate chips and coconut condensed milk for the traditional dairy versions. Use dairy-free butter or coconut oil for the crust. The texture remains deliciously creamy and satisfying.
- → Why use a double boiler for melting the chocolate?
A double boiler provides gentle, indirect heat that prevents the white chocolate from scorching or seizing. This method ensures smooth melting and maintains the silky texture needed for a perfectly creamy fudge layer.
- → How should I store these squares?
Store in an airtight container in the refrigerator for up to 5 days. The cold temperature maintains the fudge's firm texture. Place parchment paper between layers if stacking to prevent sticking.
- → What's the best way to get clean cuts?
Use a sharp knife and wipe the blade clean between each cut. For even cleaner slices, run the knife under hot water and dry it before cutting through the chilled fudge. The warmth helps the blade glide smoothly through the firm layer.