 Pin it
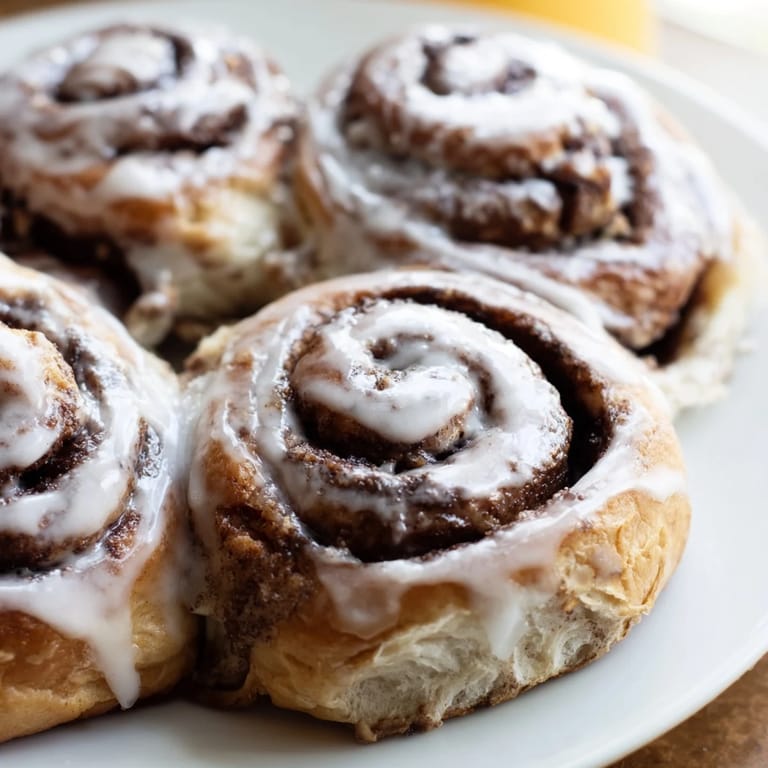
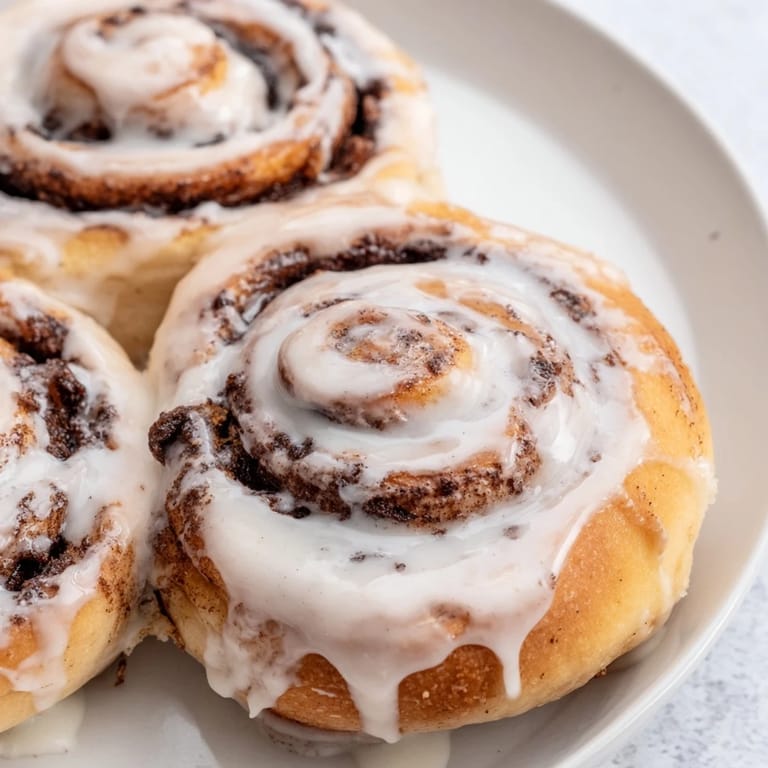
 There's something about the smell of cinnamon rolls baking that makes a kitchen feel like home, even if you've never been there before. I learned to make these years ago when my roommate's grandmother shared her handwritten recipe, dotted with flour stains and margin notes about letting the dough rise in a warm corner of the kitchen. The first batch I made was lopsided and underproofed, but something magical happened when that vanilla glaze hit the warm rolls straight from the oven. Now whenever I make them, I think about that afternoon in her kitchen, the sound of her humming while she rolled the dough, and how she said the secret was never rushing the rise.
I remember bringing a batch of these to a friend's kitchen during a snowstorm, thinking they'd be eaten in an hour. Instead, they sparked this beautiful moment where three of us just sat around the counter, hands sticky with glaze, swapping stories about our favorite breakfast memories. That's when I realized these rolls are less about the recipe itself and more about creating a reason for people to gather and slow down together.
Ingredients
- All-purpose flour (4 cups): The foundation of everything—make sure it's fresh, not something that's been sitting in your cupboard since last year, because old flour can feel dense and won't develop that silky dough texture you're after.
- Active dry yeast (1 packet): This is where patience lives; check the expiration date and let it bloom in warm milk so you know it's alive and ready to work.
- Whole milk (1 cup, lukewarm): Temperature matters here—if it's too hot it kills the yeast, too cold and nothing happens, so aim for that comfortable bathwater warmth.
- Granulated sugar (⅓ cup): Feeds the yeast and sweetens the dough just enough to balance the cinnamon filling without making it taste like cake.
- Unsalted butter (¼ cup melted plus ¼ cup softened): The melted butter goes into the dough for richness, while the softened butter creates the surface for the filling to cling to.
- Egg (1 large, room temperature): Binds everything together and gives the rolls that tender crumb, so let it sit out for a few minutes before you mix.
- Salt (½ tsp): A small amount that you barely taste but absolutely feel in how it deepens the flavor and helps control fermentation.
- Brown sugar (½ cup, packed): Slightly moister and deeper than white sugar, it makes the filling stick to itself and creates those caramelized ribbons inside.
- Ground cinnamon (2 tbsp): Use the best quality you can find; cheap cinnamon tastes dusty, but good cinnamon smells like autumn spice and actually changes how the whole roll tastes.
- Powdered sugar (1 cup): Dissolves into that creamy glaze that pools into every crevice when the rolls are still warm.
- Vanilla extract (½ tsp): A small splash that rounds out the sweetness and makes the glaze taste like something special instead of just sugar and milk.
Tired of Takeout? 🥡
Get 10 meals you can make faster than delivery arrives. Seriously.
One email. No spam. Unsubscribe anytime.
Instructions
- Wake up the yeast:
- Pour lukewarm milk into a small bowl and sprinkle the yeast over top, then let it sit for about 5 minutes until it gets foamy and smells alive. This tells you the yeast is ready to do its job.
- Build your dough base:
- In a large bowl, whisk together the flour, sugar, and salt, then add the melted butter, egg, and that foamy yeast mixture. Stir everything until it's shaggy and just barely coming together—don't overmix yet.
- Knead with intention:
- Turn the dough out onto a floured surface and knead it for about 8 to 10 minutes, using the heel of your hand to push it away and fold it back over itself. When it's smooth and springs back gently when you poke it, you're done.
- Let it rise slowly:
- Place the dough in a greased bowl, cover it with a kitchen towel, and leave it in a warm spot for about an hour until it's roughly doubled in size. You'll know it's ready when you can poke it and the indent stays there.
- Roll out your canvas:
- Punch down the dough and lay it out on a floured surface, then use your rolling pin to stretch it into a rough rectangle about 16 by 12 inches. Don't stress about perfection—it'll rise again anyway.
- Spread and season:
- Brush the softened butter all over that dough rectangle, then mix your brown sugar and cinnamon together and sprinkle it evenly across every inch. It's okay if some of it doesn't stick; the butter will hold most of it in place.
- Roll it tight:
- Starting from the long side, roll the dough into a tight log, using a little pressure to keep it snug so the spirals stay defined when you slice it. This is where you build the structure of every roll.
- Slice with care:
- Using a sharp serrated knife or even a piece of clean dental floss held taut, cut the log into 12 pieces of roughly equal size. A gentle sawing motion works better than forcing the knife straight down.
- Second rise in the pan:
- Arrange the sliced rolls in a greased 9 by 13 inch baking dish, cover them loosely, and let them sit for 30 to 45 minutes until they puff up and touch each other. This is when they transform from dense dough into something soft and pillowy.
- Bake until golden:
- Once the oven hits 350 degrees Fahrenheit, slide the rolls in and bake them for 22 to 25 minutes until they're a deep golden brown on top. You'll smell them before they're done, and that's always the best reminder to set a timer.
- Glaze while warm:
- While the rolls cool just slightly, whisk powdered sugar, milk, and vanilla together until it's smooth and pourable, then drizzle it generously over the warm rolls. The warmth helps the glaze sink into all the crevices.
 Pin it
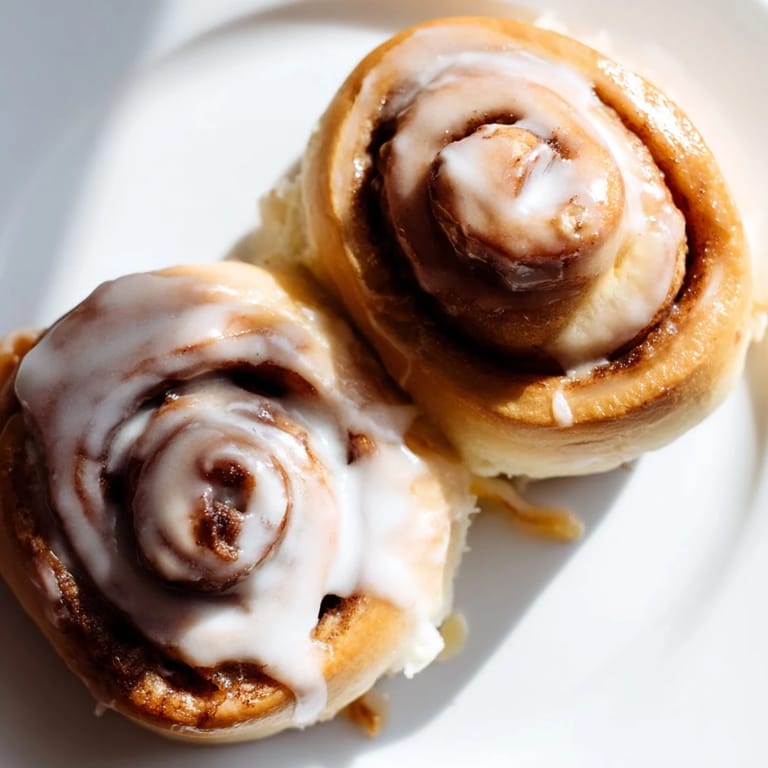
 I'll never forget watching my daughter—who was maybe eight at the time—carefully place a cinnamon roll on a plate, drizzle the glaze herself, and then close her eyes while she took the first bite. That's when I understood that these rolls have always been about more than breakfast; they're about creating moments where someone feels cared for and unhurried.
The Art of Rising
Yeast is a living thing, and it responds to kindness and patience. I used to fight the rise times, thinking I could outsmart them with a warm oven or a heating pad, but I learned that the slow, steady rise at room temperature actually develops better flavor and a more tender crumb. When you give the dough time to really develop, the rolls taste complex and satisfying instead of simple and one-note. A window sill, the top of the refrigerator, or even a turned-off oven with the light on are perfect spots—anywhere that stays consistently warm without being hot.
Filling Ratio Secrets
The balance between the dough and the filling matters more than most people realize. Too little cinnamon sugar and the rolls taste plain; too much and it all falls out the sides when you slice. I learned that the 2 tablespoons of cinnamon with a packed half cup of brown sugar is the exact sweet spot, and the softened butter acts as glue to keep everything where it belongs. When you roll the dough, think about creating tension without tearing—that tension is what keeps the spiral from unraveling in the pan and helps each slice stay distinct instead of merging into one sloppy swirl.
Serving and Storing
These rolls are at their absolute best eaten within a few hours of coming out of the oven, when the warmth of the bread meets the sweetness of the glaze in that perfect moment. If you have leftovers, wrap them gently in foil and reheat them in a low oven for about 10 minutes—microwave them and you'll regret it because the texture turns rubbery and the magic disappears. You can also freeze them unbaked in the baking dish, covered tightly with plastic wrap; just add extra rising time when you're ready to bake straight from frozen, and they'll taste almost as good as fresh.
- Fresh rolls taste best, but a gentle reheating in a 275-degree oven for 10 minutes brings them back to life without drying them out.
- Make the dough the night before and let it rise in the fridge, then slice and bake fresh in the morning for that just-made feeling.
- The glaze can be made while the rolls cool, so timing everything to come together warm is part of the experience.
 Pin it
 Making cinnamon rolls is one of those kitchen projects that teaches you patience while rewarding you with something warm and comforting to share. There's real joy in watching someone you care about bite into one, close their eyes, and just be present in that moment.
Recipe FAQs
- → How do I achieve soft, fluffy rolls?
Use lukewarm milk and active dry yeast to activate the dough properly. Knead until smooth and elastic, then allow a full rise to develop the airy texture.
- → Can I add nuts or raisins to the filling?
Yes, adding chopped nuts or raisins to the cinnamon sugar filling adds texture and extra flavor variety.
- → What is the best way to slice the rolled dough?
Use a serrated knife or dental floss for clean, even slices without compressing the rolls.
- → How do I prepare the vanilla glaze?
Whisk powdered sugar with milk and pure vanilla extract until smooth, then drizzle over warm rolls for a glossy finish.
- → What can I substitute for milk to enrich the dough?
Replace half the milk with heavy cream to create a richer, more tender dough texture.