 Pin it
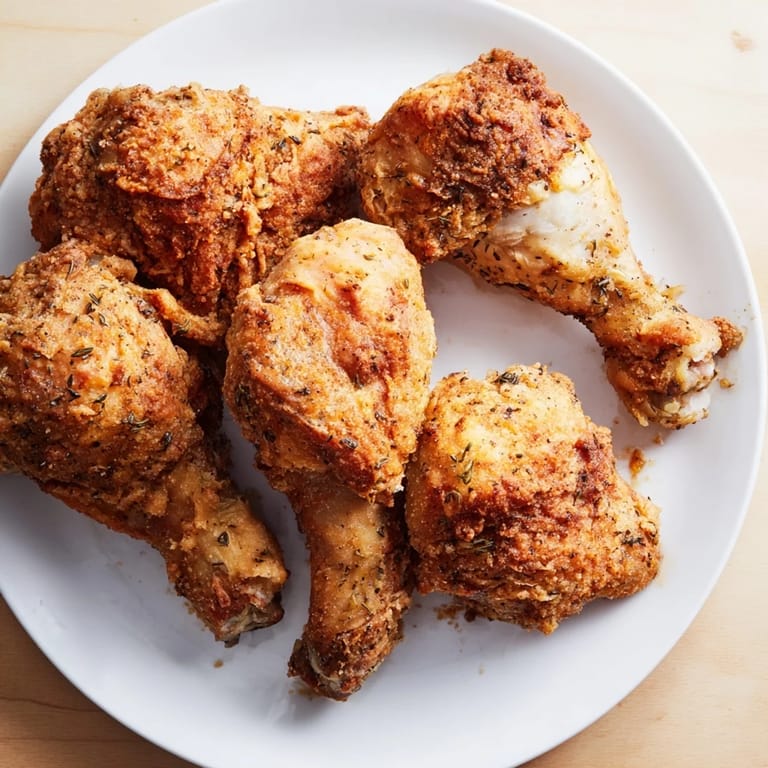
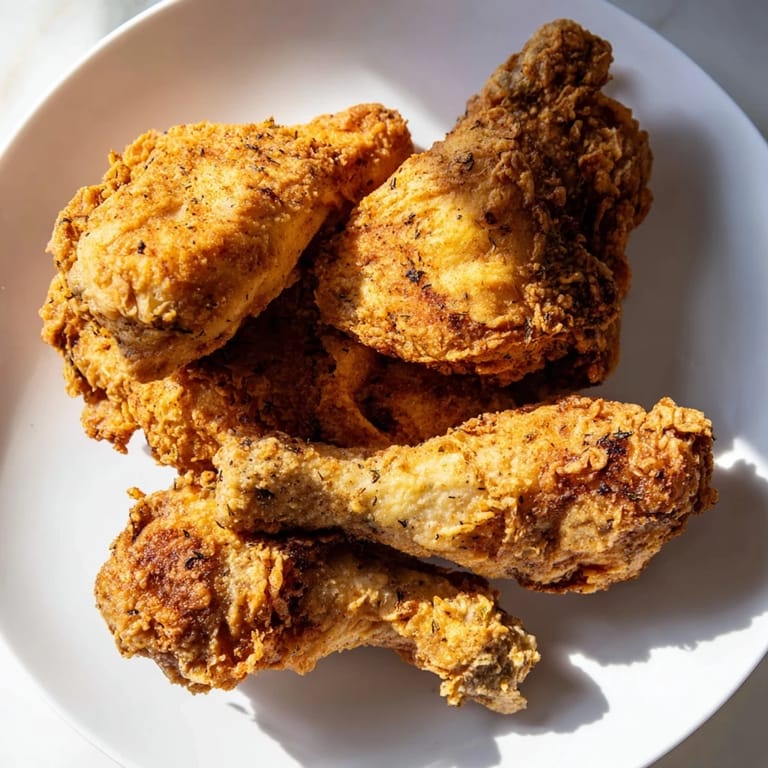
 There's something about the smell of chicken hitting hot oil that immediately transports me back to my grandmother's kitchen on Sunday afternoons. She'd stand at her stove with the kind of calm focus that made it all look effortless, but I eventually learned that her golden, crispy fried chicken wasn't luck—it was buttermilk patience and a respect for seasoning. Years later, I finally understood why she insisted on that overnight marinade, and why she'd never skip the resting period after dredging. Now when I make it, I'm following her wisdom, and the results taste like home.
I made this for a potluck once, convinced no one would touch it when there were fancier dishes around, but I found people hovering near my container all evening. A friend's kid asked for seconds before his parents even sat down, and I watched my supposedly simple fried chicken absolutely disappear. It's the kind of dish that reminds you that sometimes the most unpretentious food is the most loved.
Ingredients
- Chicken (1.2 kg, about 8 pieces), skin-on: Drumsticks and thighs are your best friends here because they stay juicy even if you accidentally overcook them—which is harder to do than you'd think.
- Buttermilk (240 ml): This is the secret to tenderness; the acidity gently breaks down the chicken while keeping it moist, and it's worth buying real buttermilk rather than the powder version.
- Salt (2 tsp for marinade, 1 tsp for coating): Don't skimp—salt is what makes the chicken taste like chicken, not just protein.
- Black pepper, paprika, cayenne pepper (marinade): These go into the buttermilk to flavor the chicken from the inside out, and the heat from cayenne is entirely optional depending on who you're feeding.
- All-purpose flour (240 g): The foundation of your crispy coating—this is where the magic happens.
- Garlic powder, onion powder, dried thyme, smoked paprika (coating): Each spice adds a different note; the smoked paprika especially gives you that restaurant-quality depth of flavor.
- Vegetable oil (1 liter): Use something with a high smoke point—vegetable oil stays stable at 175°C, which is exactly what you need.
Tired of Takeout? 🥡
Get 10 meals you can make faster than delivery arrives. Seriously.
One email. No spam. Unsubscribe anytime.
Instructions
- Marinate the chicken overnight:
- Combine buttermilk with salt, black pepper, paprika, and cayenne in a large bowl, then submerge your chicken pieces completely. The longer you wait—ideally overnight—the more tender and flavorful your chicken becomes, so don't rush this part even if you're hungry.
- Mix your seasoned flour:
- In a separate bowl, whisk together flour, garlic powder, onion powder, thyme, smoked paprika, salt, and pepper until everything is evenly distributed. You'll know it's ready when the mixture smells incredible and shows no flour streaks.
- Dredge each piece with confidence:
- Remove chicken from marinade (let that buttermilk drip off for a few seconds) and press each piece firmly into the flour mixture, making sure every surface gets a coating. The pressure helps the flour stick, which means crispier results.
- Let the coating set:
- Place coated chicken on a wire rack for 10 minutes—this resting period is when the coating really adheres to the chicken and won't fall off during frying. You'll notice the flour starts to look slightly damp, which means it's ready.
- Heat your oil to exactly 175°C:
- Use a thermometer and don't guess; oil that's too cool makes greasy chicken, and oil that's too hot burns the outside before the inside cooks through. Once you hit temperature, you're golden.
- Fry in batches without crowding:
- Gently lower chicken pieces into the hot oil, resist the urge to put in too much at once (cold chicken brings down the temperature), and turn pieces occasionally for even browning. You're looking for about 12 to 15 minutes total until the chicken is deep golden brown and registers 75°C inside.
- Drain and rest before serving:
- Transfer chicken to a wire rack so air circulates underneath and keeps it crispy; paper towels work but will make it slightly less crispy. Let it rest for 5 minutes so the juices redistribute.
 Pin it
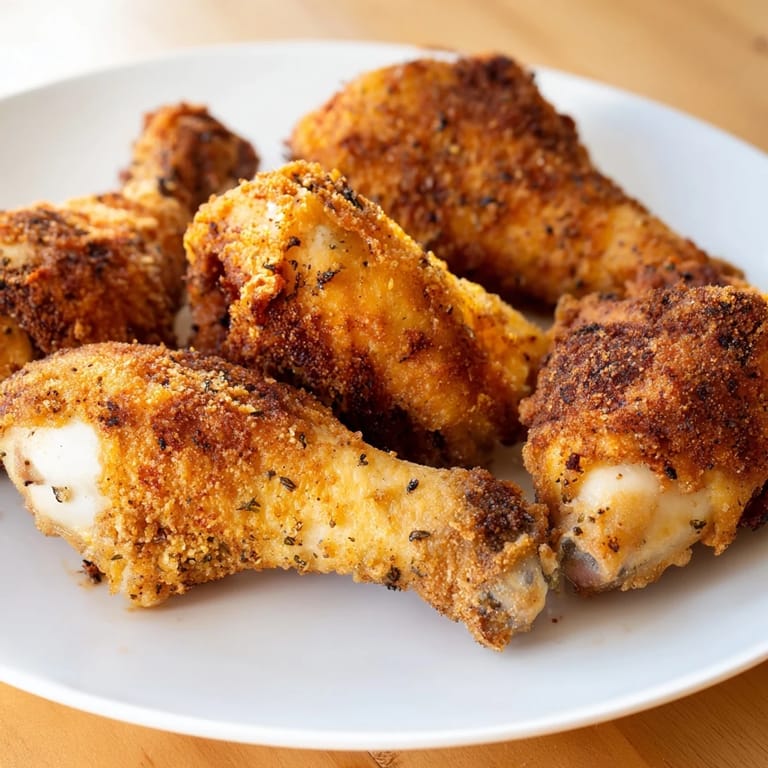
 The first time I served this to my partner, he actually got quiet while eating, which is his highest compliment. We sat at the table longer than usual, and we ended up talking about nothing important while the chicken disappeared, which is when I realized I'd finally gotten it right.
The Secret of the Double-Dip
If you want your fried chicken to have an extra-shatteringly-crispy exterior, try the double-dip technique: after your initial flour coating, quickly dip the piece back into buttermilk for just a second, then immediately back into the seasoned flour. It sounds fussy, but those two coatings create layers that stay impossibly crispy even as the chicken cools. I discovered this completely by accident when I dropped a piece back into the buttermilk and decided to just keep going, and now I do it intentionally every single time.
What to Serve Alongside
Fried chicken doesn't need much—coleslaw cuts through the richness beautifully, creamy mashed potatoes soak up all the flavors, and hot sauce adds a welcome punch if your crowd likes heat. I've also served it with buttermilk biscuits, pickle spears, or even just a simple green salad, and it's never out of place. The chicken is really the star, so your sides just need to support rather than compete.
Storage and Reheating Tips
Fried chicken actually tastes good cold the next day, which makes it perfect for lunch boxes or midnight snacking straight from the fridge. If you want to reheat it and restore some crispness, pop it in a 180°C oven for about 10 minutes rather than microwaving, which turns everything soggy. You can also store it in an airtight container for up to three days, though honestly it rarely lasts that long in my house.
- Cold fried chicken is legitimate food, not just leftovers—embrace it.
- An oven reheat beats the microwave every single time for texture.
- Make extra because people always want more than you'd expect.
 Pin it
 This is the kind of food that brings people together without any pretense—it's honest and generous, and it tastes better when it's made with patience and a little bit of care. Make it for someone you love, and watch what happens.
Recipe FAQs
- → What is the best way to ensure crispy coating?
Double-dipping the chicken in buttermilk and flour twice creates a thicker crust that crisps wonderfully when fried.
- → Can I prepare the chicken ahead of time?
Marinating the chicken for at least 2 hours or overnight boosts flavor and tenderness, making ahead prep ideal.
- → What oil temperature is recommended for frying?
Maintain the frying oil at 175°C (350°F) to achieve a golden crust without burning or undercooking.
- → Which chicken parts work best for this method?
Skin-on drumsticks, thighs, or assorted pieces all fry well, providing juicy interiors and crispy skin.
- → How can I serve the chicken for best results?
Let the fried pieces rest on a wire rack before serving. Pair with sides like coleslaw, mashed potatoes, or hot sauce for complementary flavors.