 Pin it
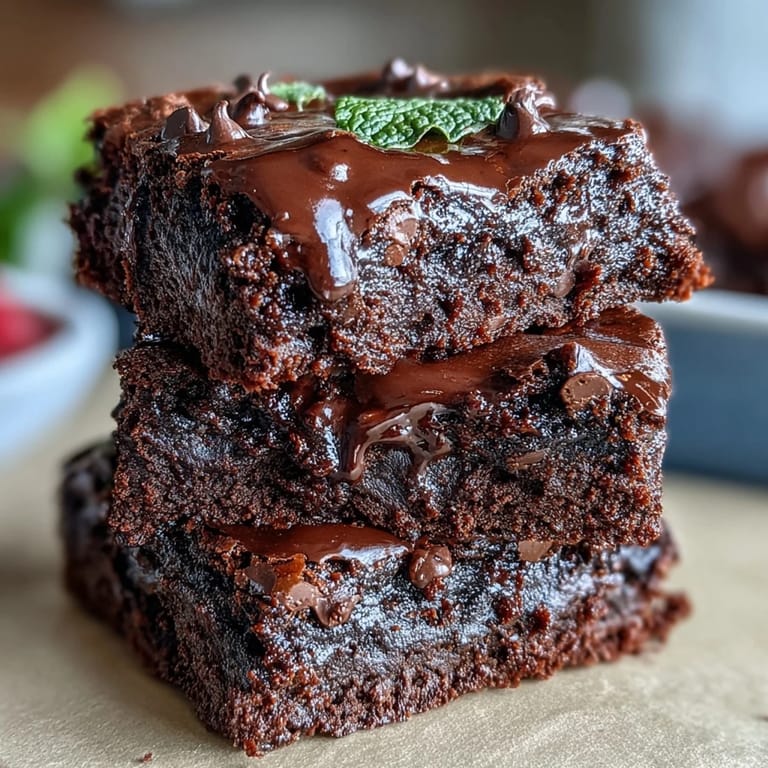
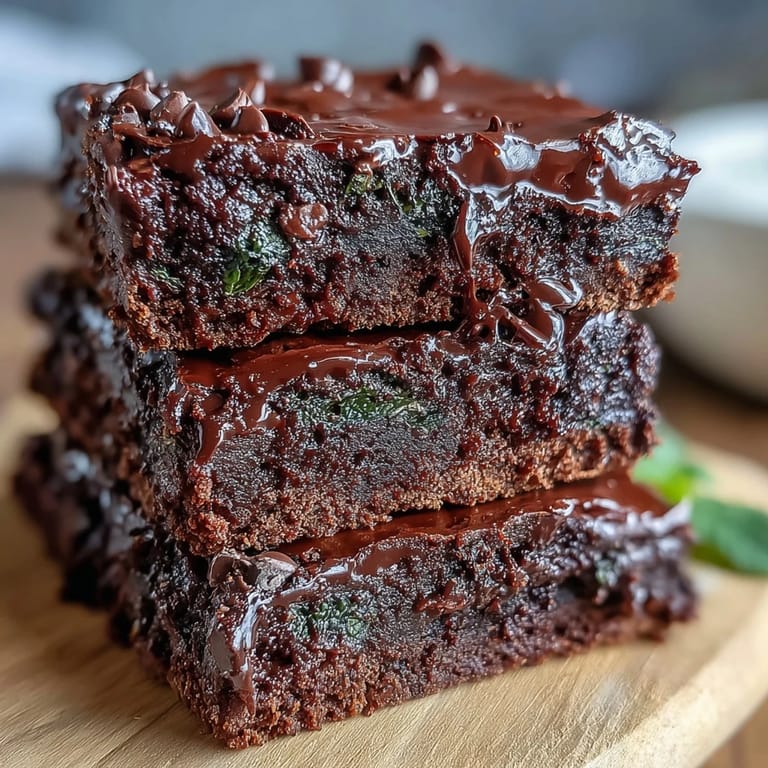
 My coworker Sarah showed up to our office potluck with a tin of these mint chocolate brownie bites last March, and I watched them disappear faster than the green decorations came down. There was something about the way the peppermint cut through the richness of the chocolate that made you want just one more, then another. When she finally shared the recipe, I realized how simple it was to make something that felt genuinely special, not like I was forcing a holiday theme into dessert. Now whenever St. Patrick's Day rolls around, I find myself making these without thinking, less about the occasion and more about having an excuse to fill my kitchen with that dark cocoa smell.
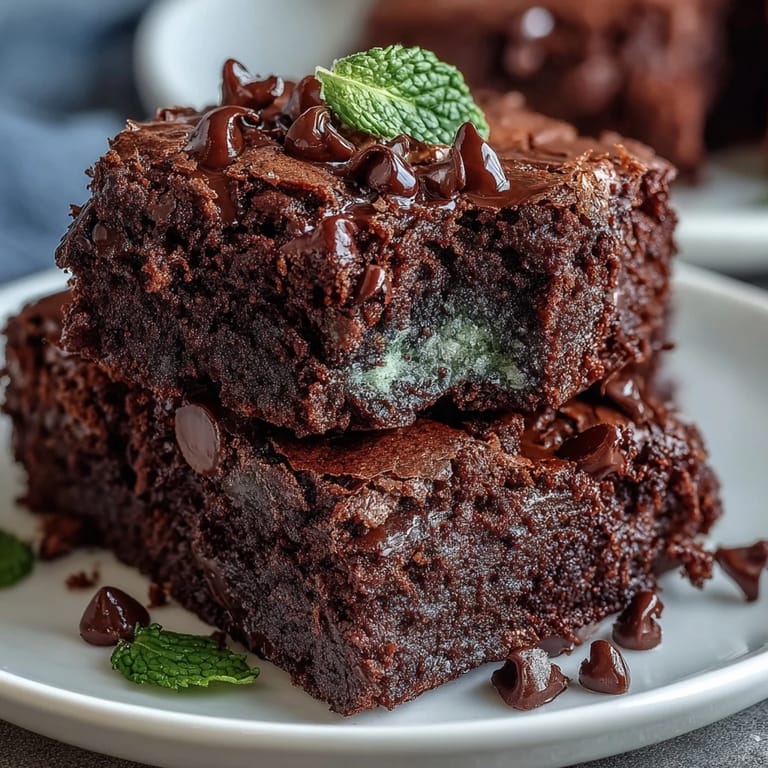
I made these for my kid's classroom party, and their teacher texted me later saying half the class asked for the recipe. The mint flavor was subtle enough that even the chocolate purists didn't feel like something was being done to them, and the festive green color made them feel celebratory without being over the top. That moment when something simple you baked becomes the thing people remember about your contribution matters more than you'd think.
Ingredients
- All-purpose flour: Keeps the bites tender without making them dense, and three-quarters of a cup is the sweet spot where they stay fudgy.
- Unsweetened cocoa powder: The foundation of everything here, so don't skimp on quality or you'll taste it immediately.
- Baking powder: Just enough to give them a barely-there lift so they're not bricks.
- Salt: A quarter teaspoon seems tiny, but it's what makes the chocolate and mint sing instead of blend into one note.
- Unsalted butter: Melted slightly cooled is key, because warm butter will scramble your eggs if you're not careful when mixing.
- Granulated sugar: A full cup because these are brownies, not health food, and the sweetness balances the mint beautifully.
- Eggs at room temperature: They incorporate more smoothly and create a better crumb structure than cold eggs pulled straight from the fridge.
- Vanilla and peppermint extracts: Use pure extracts not imitation, because the quality difference becomes obvious when peppermint is your main flavor player.
- Green food coloring: Optional but it transforms these from brown to festive without effort, and a few drops is all you need.
- Mini chocolate chips: The mini size means they distribute evenly and you get chocolate in every bite instead of random chunks.
- Andes mints or chopped mint chocolate: An optional but worthwhile addition that gives you texture and flavor pockets if you want to lean harder into the mint.
Tired of Takeout? 🥡
Get 10 meals you can make faster than delivery arrives. Seriously.
One email. No spam. Unsubscribe anytime.
Instructions
- Heat your oven and prepare your tin:
- Set the oven to 350°F and either grease a mini muffin tin well or line it with paper liners, which makes removal so much easier. If you don't have a mini muffin tin, you can make regular-sized brownies and just increase the baking time by a few minutes.
- Mix your dry ingredients:
- Whisk the flour, cocoa powder, baking powder, and salt together in a medium bowl until everything looks evenly distributed and there are no cocoa lumps hiding in the corners. This step prevents those bitter pockets of unmixed cocoa that can surprise you mid-bite.
- Combine wet ingredients:
- In a larger bowl, whisk the melted butter and sugar together until they're completely combined and the mixture looks smooth, then add your eggs one at a time while whisking. Once they're incorporated, add the vanilla, peppermint extract, and food coloring if using, and keep whisking until the batter looks glossy and pale.
- Bring it all together:
- Gently fold the dry mixture into the wet mixture using a spatula, being careful not to overmix because that's what makes brownies tough instead of fudgy. Stop as soon as you don't see white flour streaks anymore.
- Add your mix-ins:
- Stir in the mini chocolate chips and any chopped Andes mints you're using, distributing them evenly so every bite has a chance at hitting one. The batter should look speckled and rich at this point.
- Fill your tin:
- Spoon the batter into each cup until it's about three-quarters full, then top each one with a few extra chocolate chips if you're feeling generous. The extra chips on top get a little crispy and look intentional.
- Bake with patience:
- Bake for 13 to 15 minutes, checking at the lower end by inserting a toothpick into a center bite. You're looking for mostly clean with a few moist crumbs still clinging to it, because they continue cooking slightly as they cool.
- Cool strategically:
- Let them sit in the tin for exactly 5 minutes before transferring to a wire rack, because moving them too early means they fall apart and waiting too long makes them stick. This resting period is what keeps them from crumbling into chocolate dust.
 Pin it
 There's a moment right after you pull these from the oven when your whole kitchen smells like mint and chocolate and optimism, and you realize you've created something that bridges the gap between homemade care and impressive enough for company. That's the feeling worth repeating every time someone mentions St. Patrick's Day.
The Mint-to-Chocolate Balance
Getting the mint and chocolate ratio right took me a few attempts, because my first batch tasted like I was eating toothpaste that happened to contain brownie. The trick is letting the chocolate be the star and the peppermint be the surprising accent that makes people pause and notice. If you're someone who loves mint more than chocolate, you can bump the peppermint extract up by a quarter teaspoon, but add it slowly because extracts are concentrated and unforgiving.
Storage and Make-Ahead Magic
These keep beautifully in an airtight container for five days, which means you can make them on a Tuesday for a Friday party without any guilt about them drying out. I've even frozen them in a sealed bag for up to two weeks, and they thaw at room temperature in about an hour with zero quality loss. It's the kind of recipe that rewards batch making.
Variations and Swaps
The beauty of this base recipe is how much room it has for your preferences without falling apart. You could swap the Andes mints for any mint chocolate candy you love, or skip them entirely if mint chocolate feels like too much and you want it to taste like a regular brownie that happens to have peppermint in it. You could even add a teaspoon of espresso powder to deepen the chocolate flavor if the mint-chocolate combo feels too light.
- Regular muffin tins work if you don't have mini ones; just bake for 18 to 20 minutes instead and you'll get 12 bigger bites.
- Skip the green food coloring entirely if you prefer your brownies to look like regular brownies and just have the pleasant surprise of mint flavor.
- Make these gluten-free by swapping in a one-to-one gluten-free flour blend, though you may need an extra tablespoon of moisture if the batter seems too thick.
 Pin it
 These brownie bites became my answer to the question of what to bring when you want to feel like you tried without stress. Once you've made them once, you'll make them again because they're that effortless intersection of impressive and simple.
Recipe FAQs
- → What gives the brownies their mint flavor?
Pure peppermint extract is combined with chopped Andes mints to infuse a fresh, cool minty taste throughout the brownies.
- → Can I use regular chocolate instead of mini chips?
Yes, you can chop regular chocolate bars into small pieces as a substitute, ensuring even distribution in the batter.
- → How do I avoid overbaking the brownie bites?
Bake for 13–15 minutes and check with a toothpick. It should come out mostly clean with some moist crumbs to keep fudgy texture.
- → Are these brownie bites suitable for vegetarians?
Yes, these bites use ingredients compatible with a vegetarian diet, including eggs and dairy but no meat byproducts.
- → Can I prepare the batter in advance?
The batter can be made ahead and refrigerated for a few hours before baking to save time and develop flavors.
- → What is the purpose of green food coloring?
Green food coloring adds a festive appearance for St. Patrick’s Day but is optional and does not affect flavor.